VIDEO: Commercial Underwater Spot- Part 1

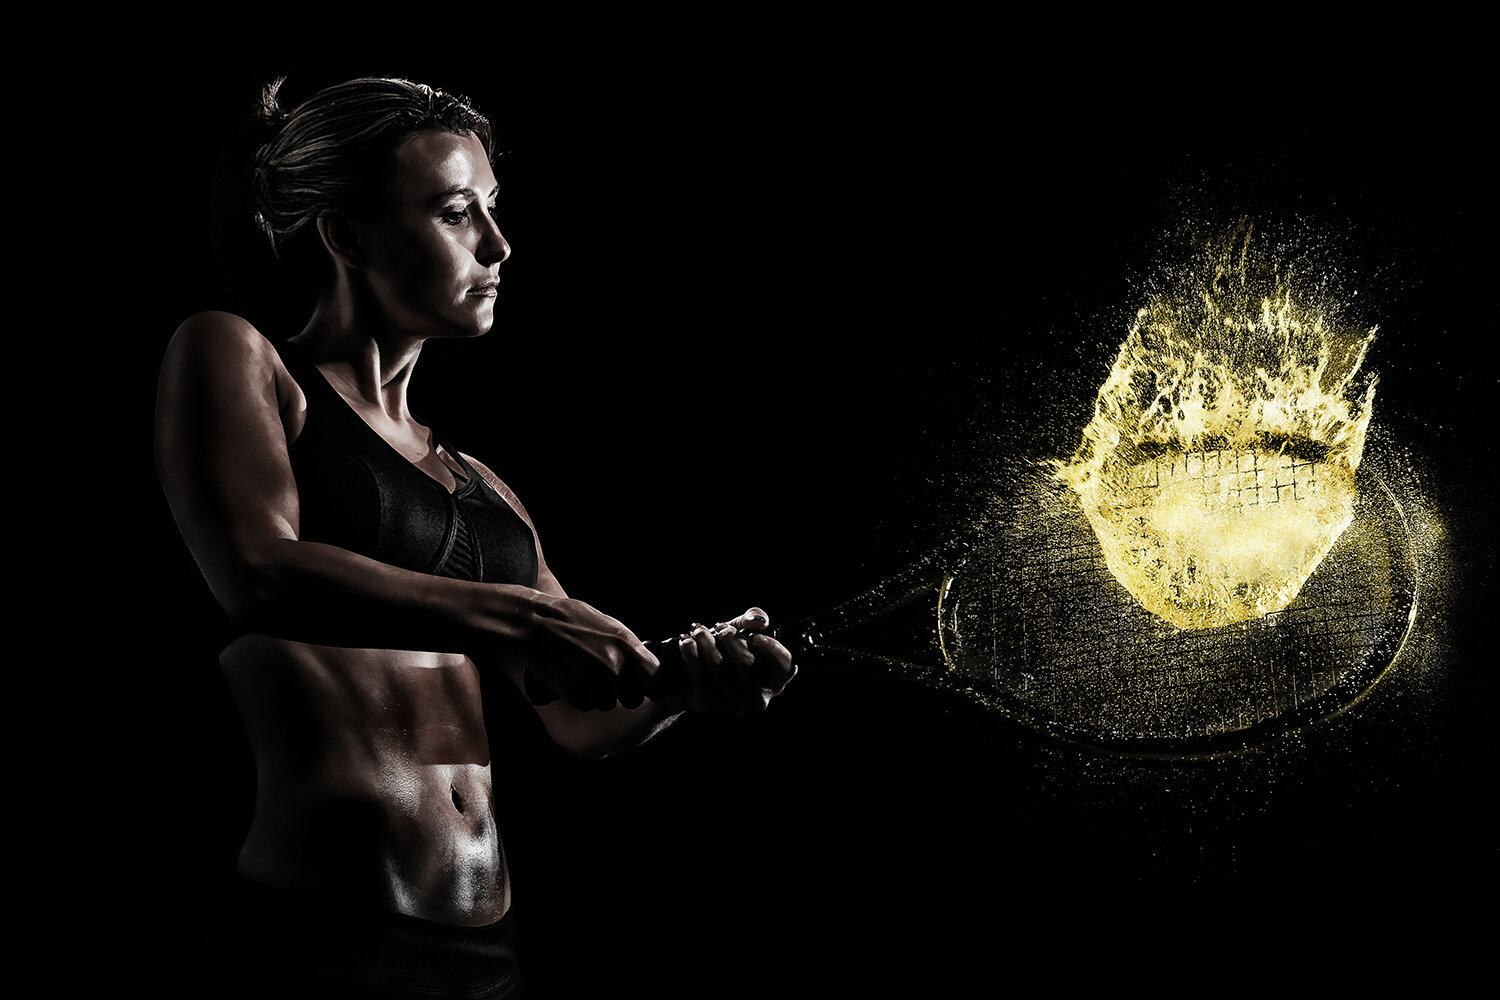
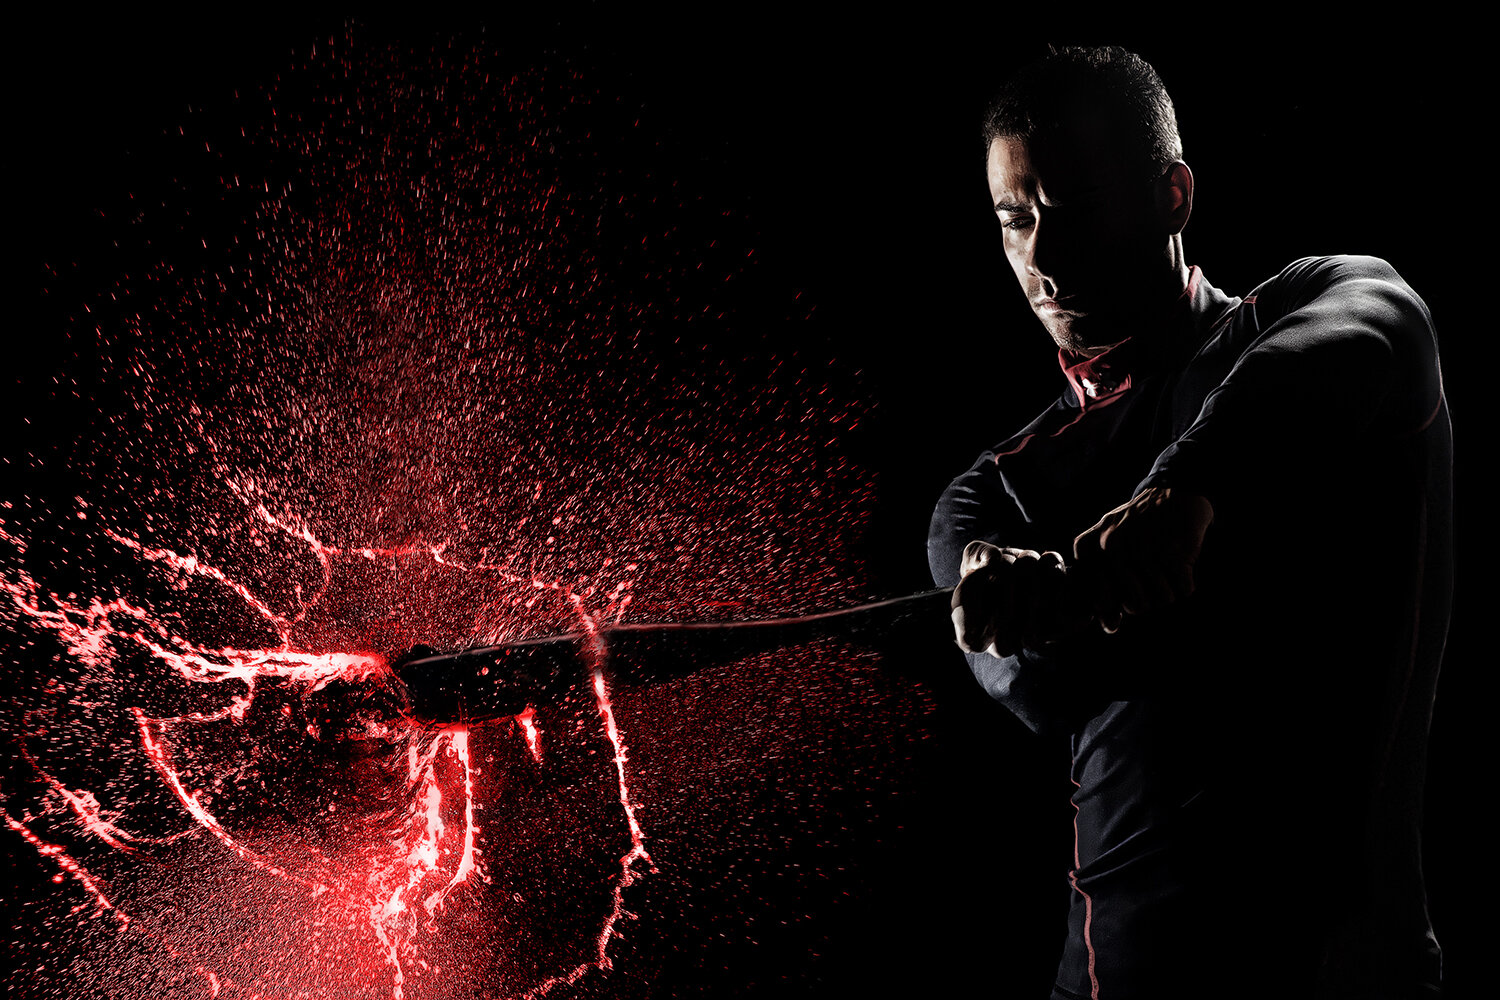
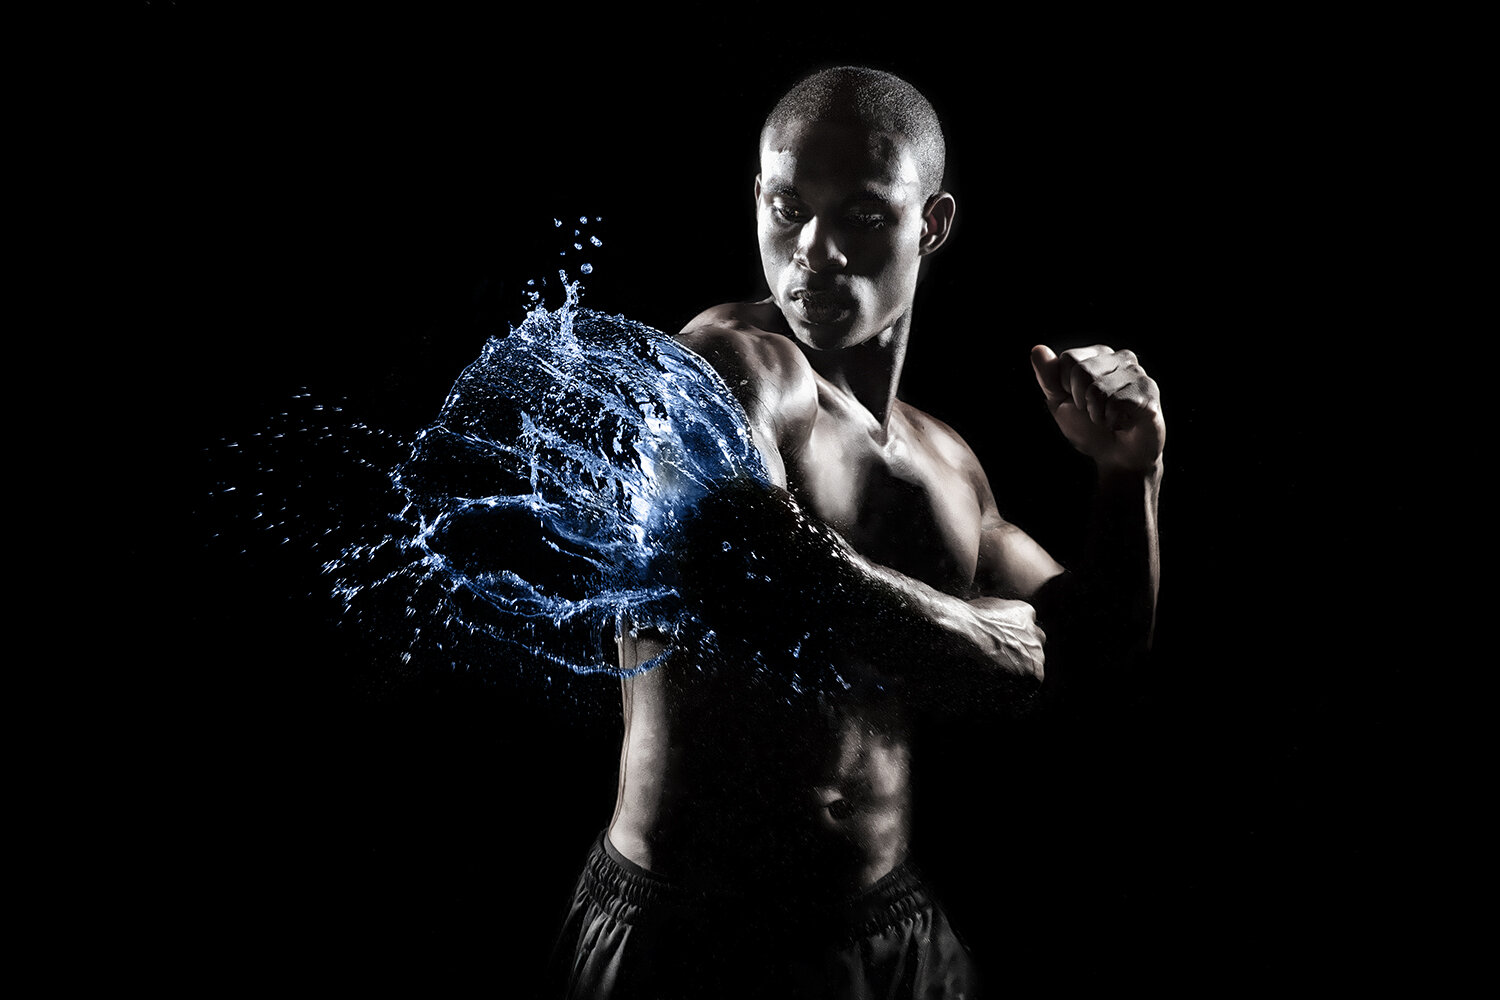
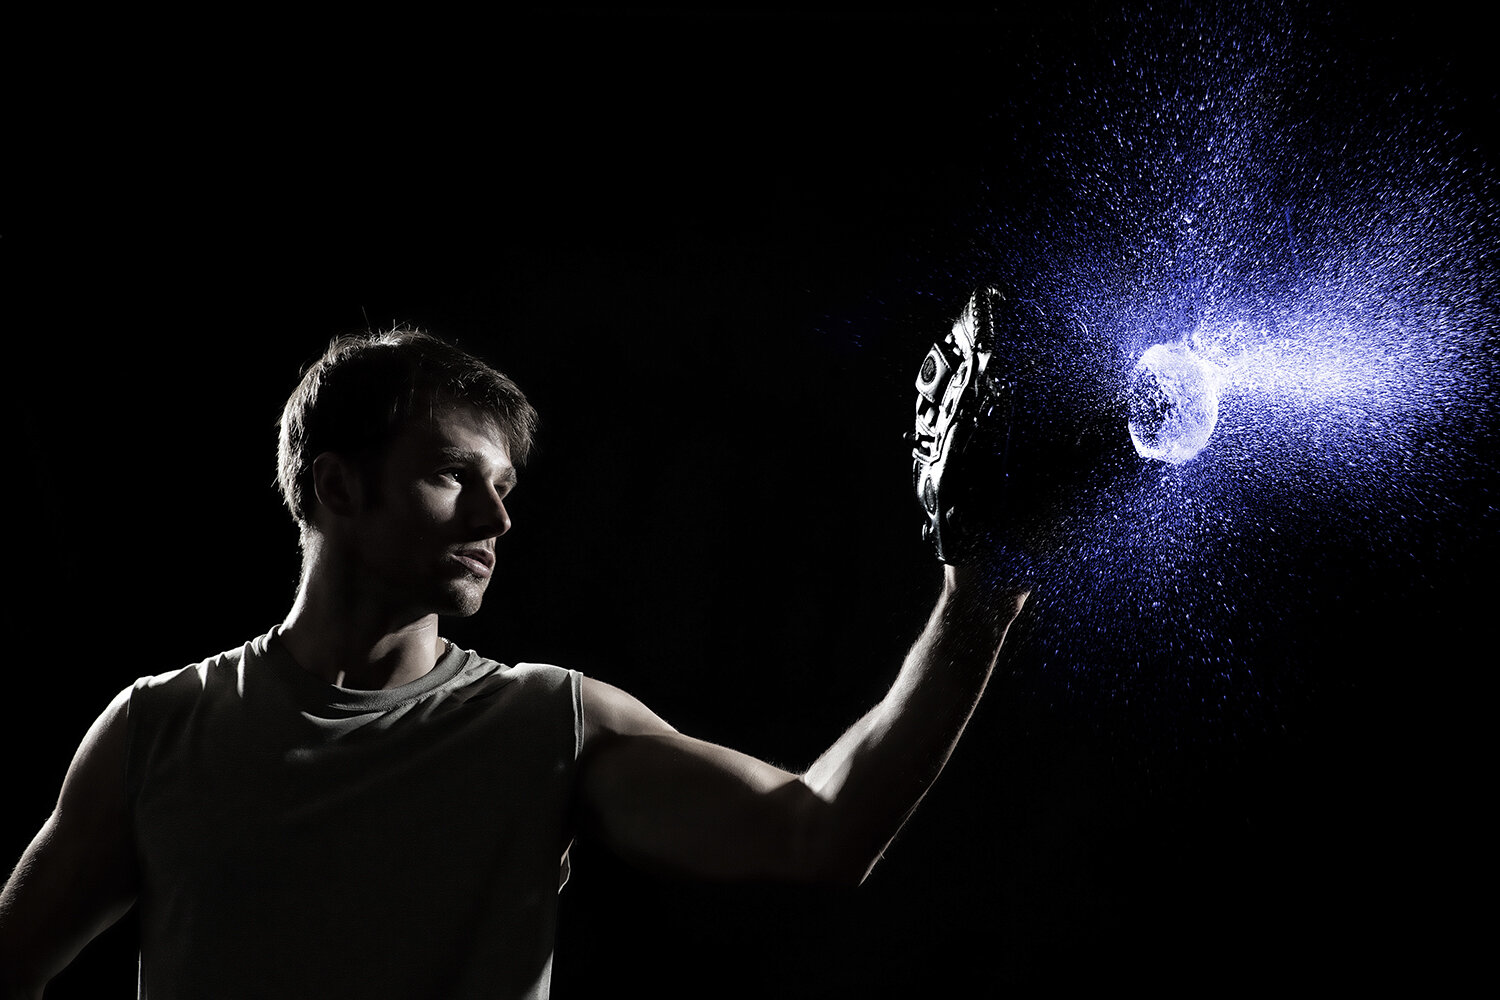
These days commercials are built to WOW you. They are meant to BLOW you away.  To get that great spot, a huge amount of time is spent communicating and collaborating between the creative and production team to be able to turn that concept into STUNNING motion visuals.

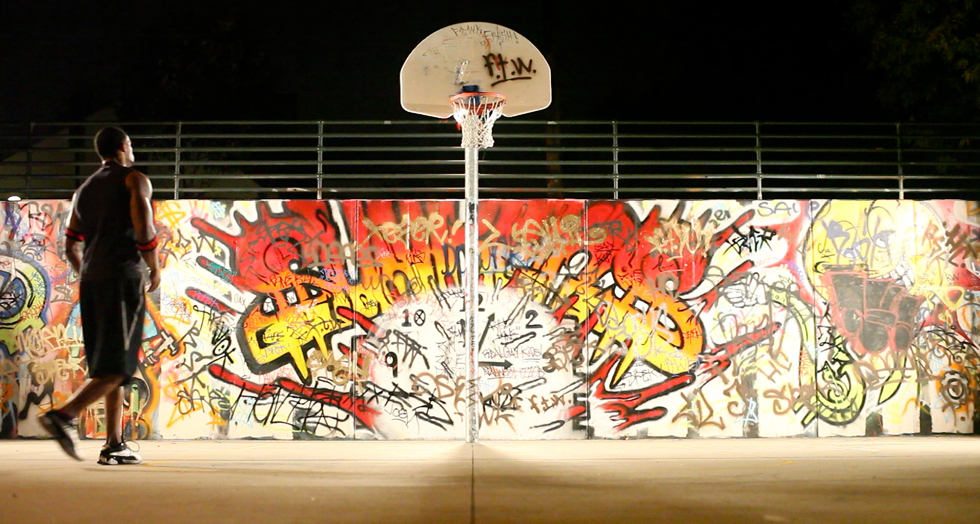
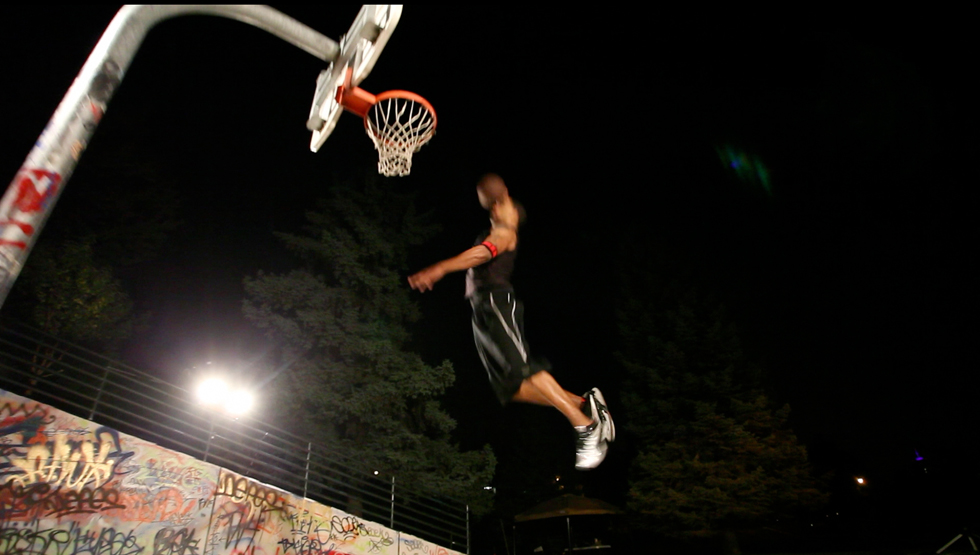
This time around, I worked as the director of photography on a three-part commercial series for CrossPoint, we boiled up some epic imagery ideas in preproduction and how we can make those idea come to life.

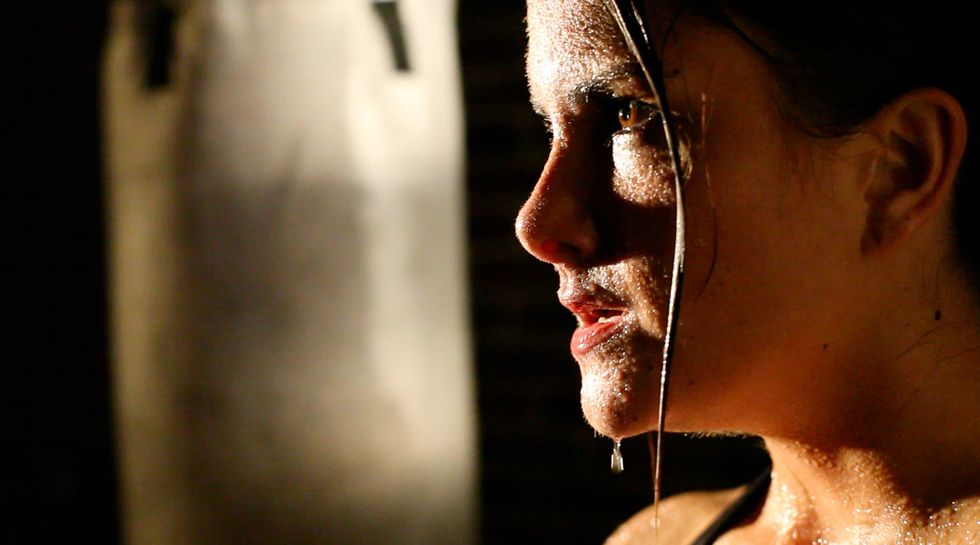
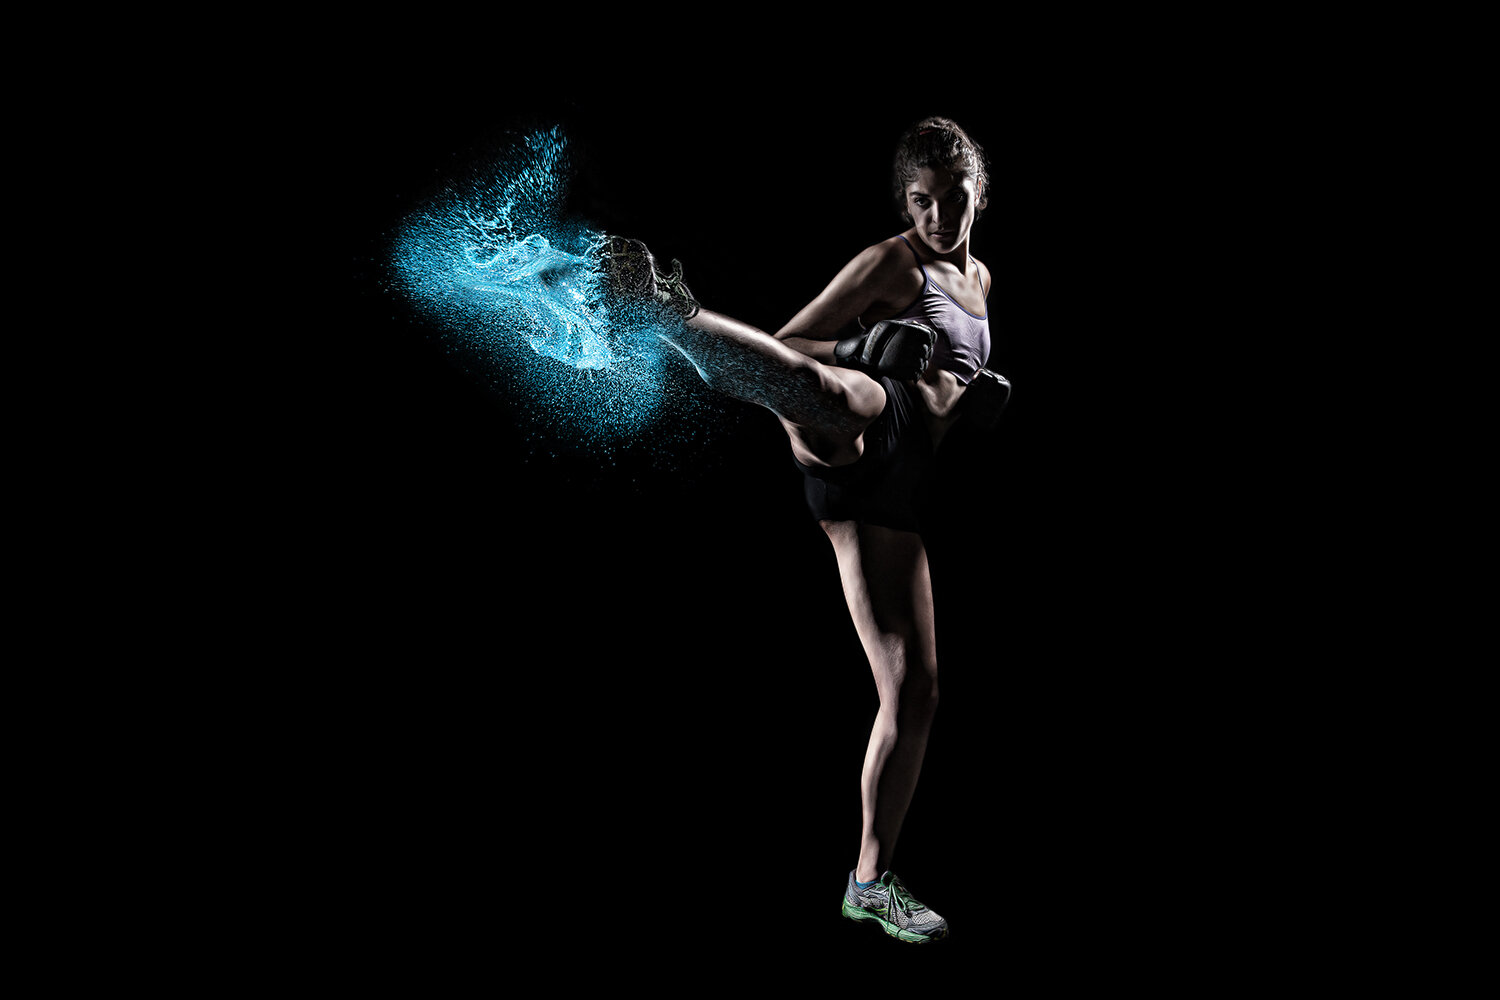
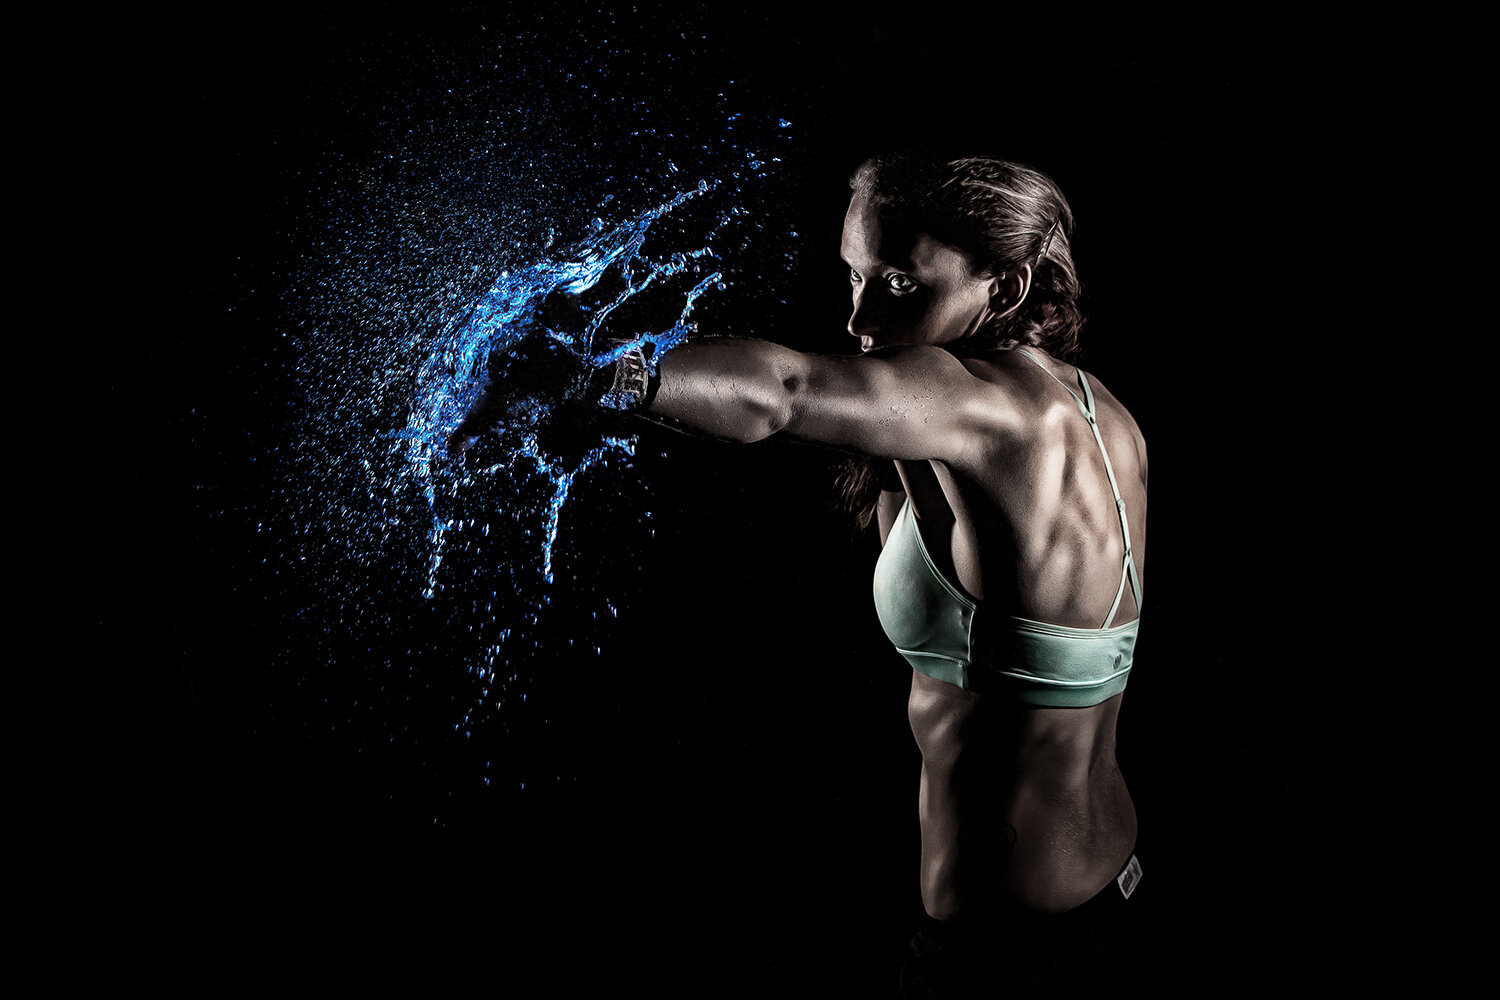
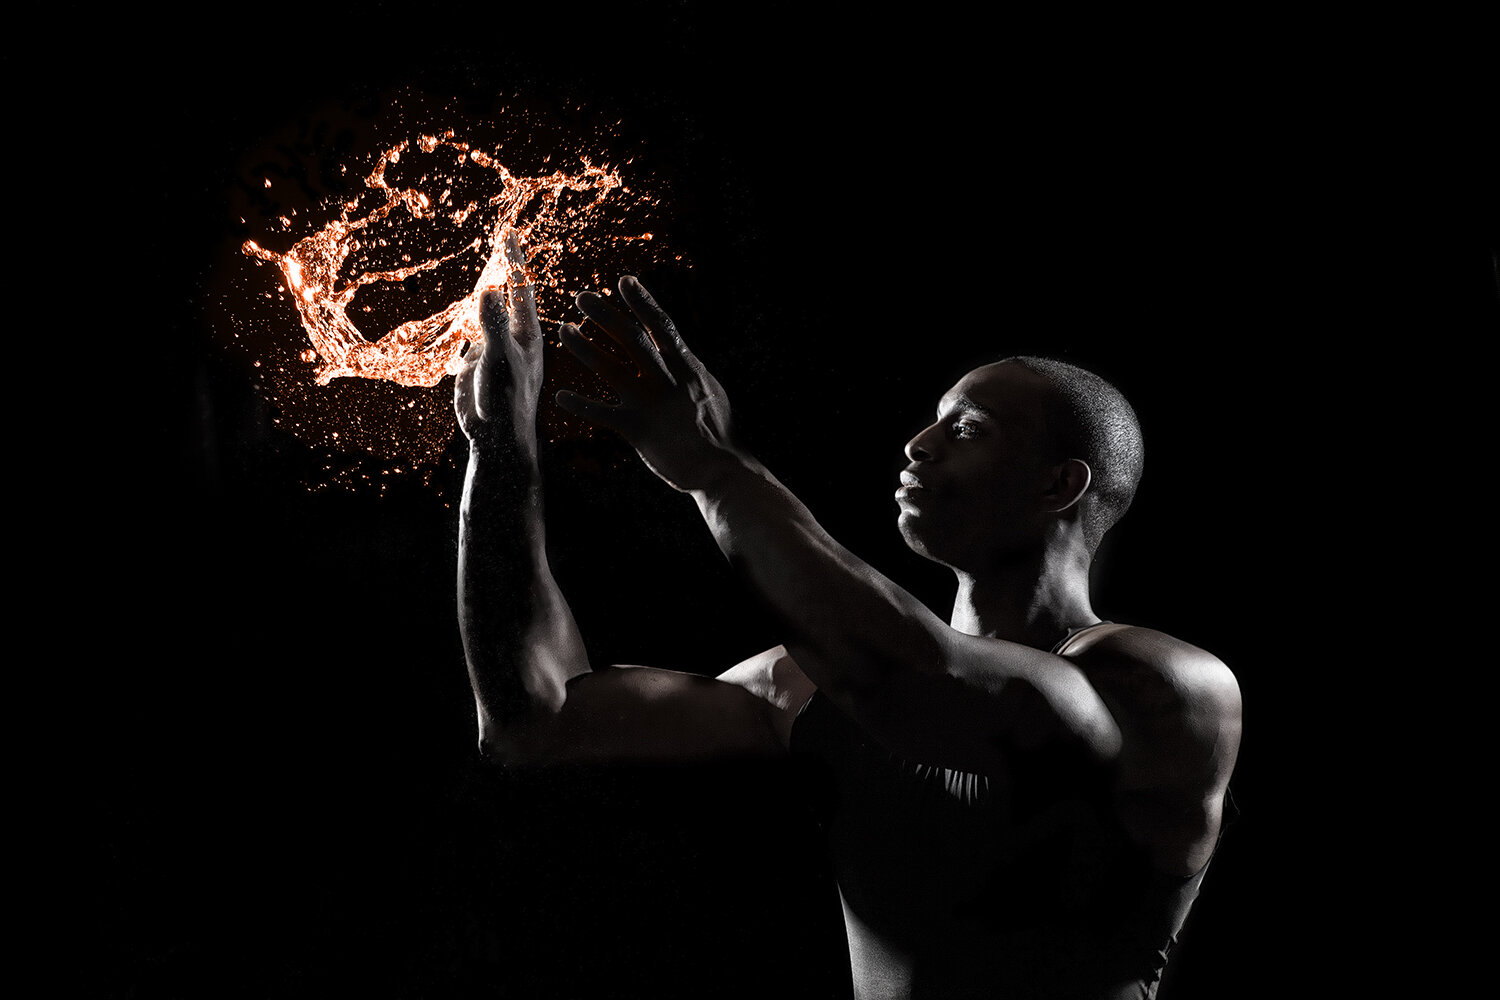
For part one of the series, we submerged the camera underwater. We wanted to convey the look of a person, “drowning,” in the legal system. This was a feeling we could all relate too — the feeling that you have no control or can’t seem to see an end to all the frustration. We wanted the person to look like they weren’t actually “drowning,” on camera but rather struggling and reacting frantically in the water. Seems simple right?

Shooting underwater is a delicate situation. Many precautionary details need to be taken care of or allcould go wrong. Although I am experienced in photographing underwater, I always face an extra level of nervousness for the equipment. Details such as pressure control, level of visibility, and optimizing lighting are just a few factors we had to address in the preproduction of the underwater spot.

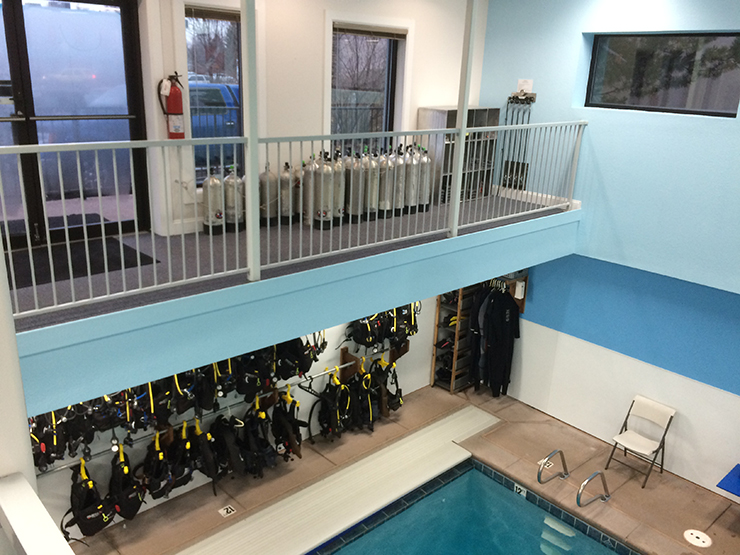
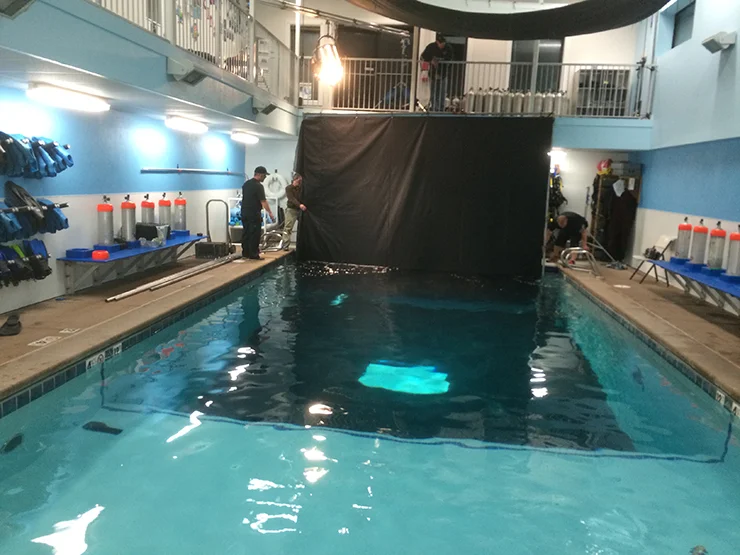
After scouting a couple locations we ended up settling on the Scuba diving facility, A-1 Scuba. The space was going to be easily controlled without any unnecessary distractions to the shooting space. The team at Crosspoint and I even talked with a couple divers at A-1 to ensure what we had envisioned could work at this pool. Location, check!

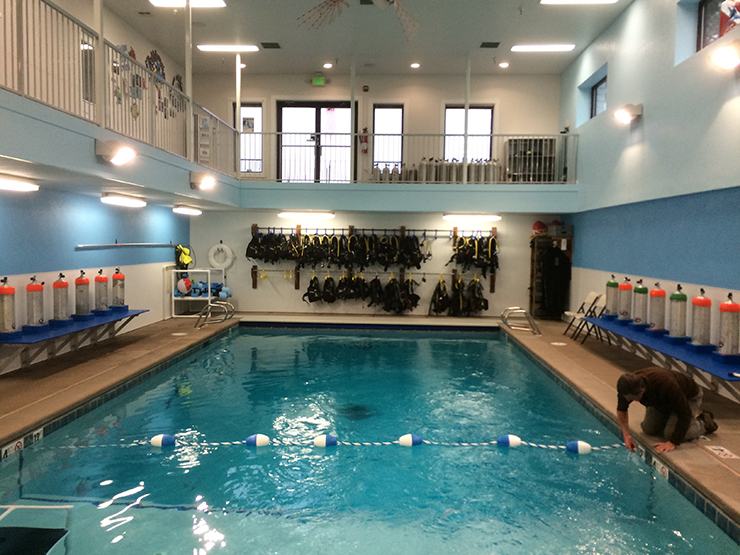
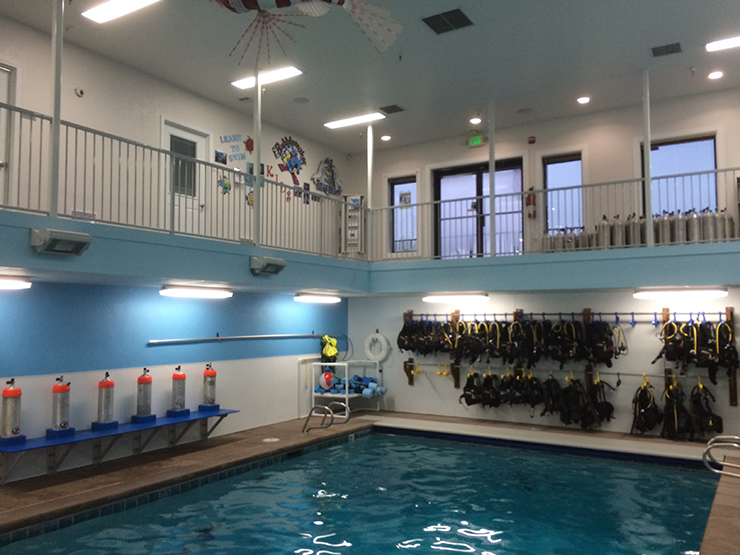
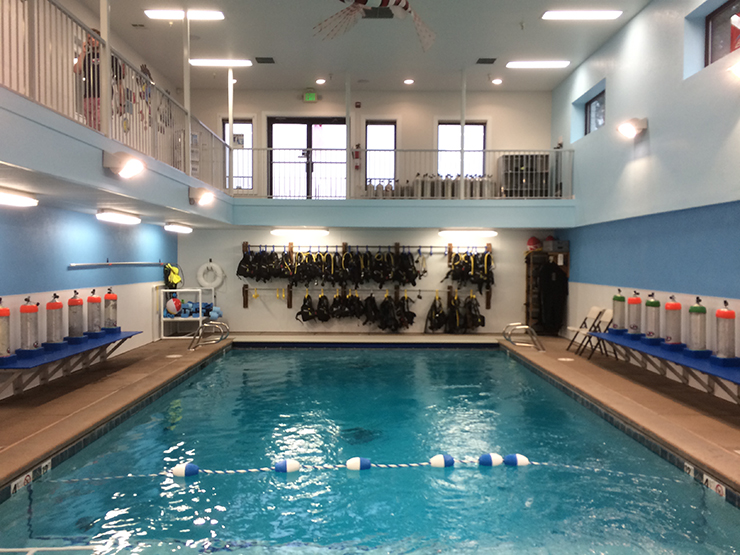
Next up was the lighting.  To create optimal lighting at A-1 we had to black out the entire bottom and two sides of the pool to reduce reflections. After 20 by 25 feet of blacking out in the pool, we had to fix the bright overhead lighting as well. Following the trend, we hung a black cloth over the entire ceiling of the facility. The key grip on set, then hung 10K light 20ft above the surface of the pool. “And that’ll do the trick,” he said.

IMG_7303.jpg

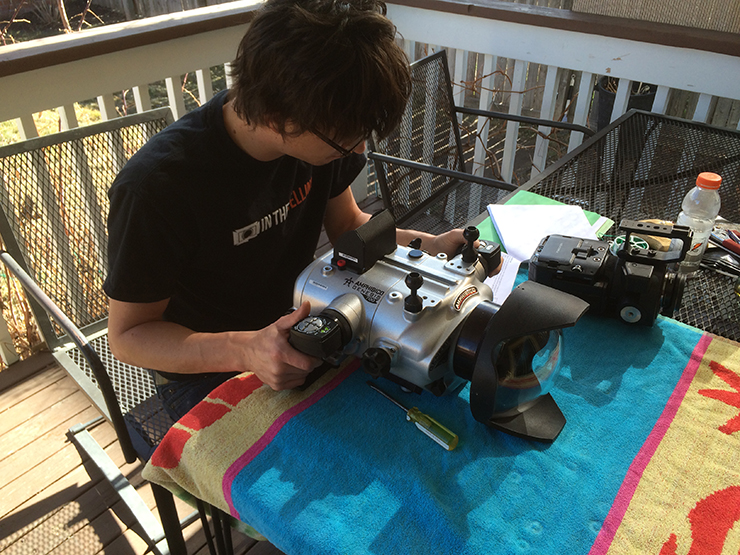
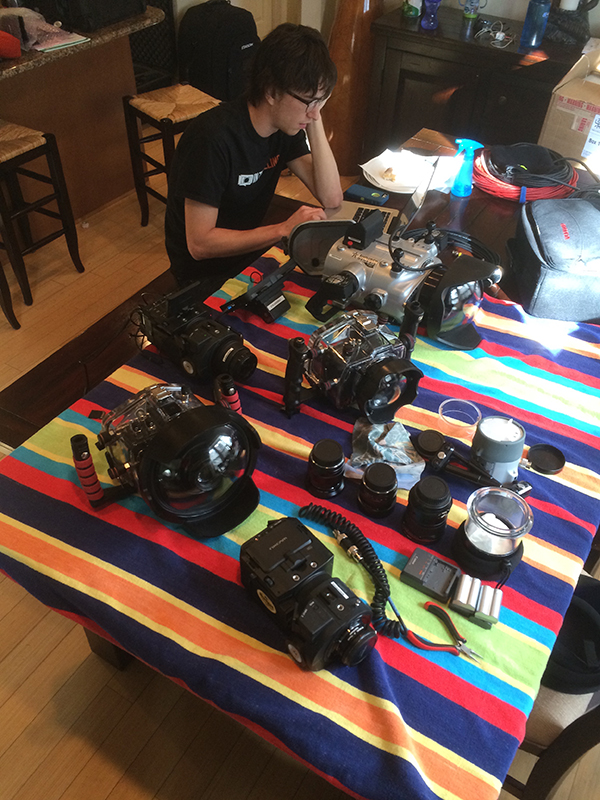
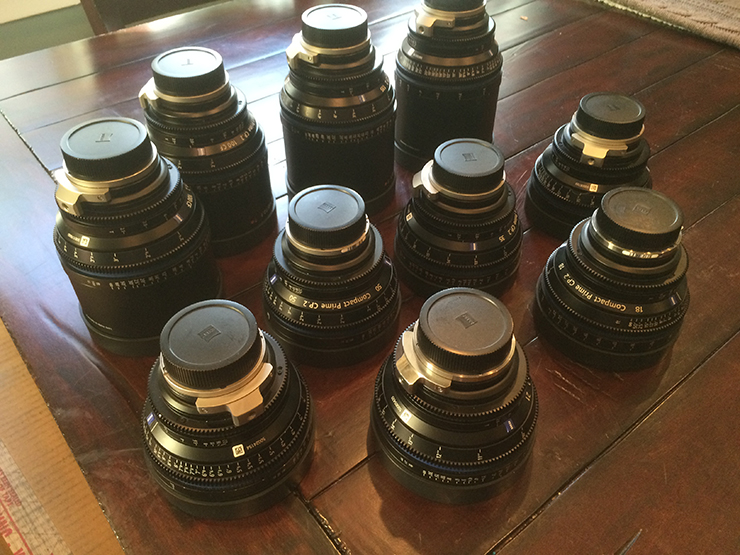
Now let’s grab the camera! I knew from the get-go that the equipment was going to be plentiful and complex. I was first introduced to the complexity of underwater equipment with surf photography, but this was going to be a new ball game.

There are many components to underwater photography, especially at such a large production. For our camera we decided on a Sony FS700, which would also work for the other two spots. I found full functioning housing for this Sony camera, as well as back up, so all was set! One hint though, make sure to buy housing unsealed because when ours arrived from Florida it popped open! The pressure change caused a loud surprise for the crew! After finding all the equipment, we were ready with a total of 4 cameras, housings, and a few domes we were ready to shoot.

Lights, Camera, Action! Once we arrived on set, the crew started right away putting up the black walls, lighting and safety features. My trusted team, Buddy and Adam geared up the underwater housings, cameras — and all that jazz. Once the subjects were ready in the water, I suited up in my scuba gear, grabbed the housing and jumped in. For a couple hours at a time I was underwater shooting. I used tricks such as a barrel roll with the Underwater Sony FS700, which made the subjects look like they were caught in a washing machine. It was super sick! We really nailed the concept of the subject struggling underwater. The key was to persistently get a few shots in a row underwater to limit the amount of surface time. I made sure to use hand signals and body language to talk with the guys up above. Good communication above water translated into great footage below. The day was a success!

IMG_7345.jpg


Denver Broncos

The Denver Broncos

morahan_visuals_denver_broncos_vs_raiders_00066_v6.jpg

An old friend of mine from Brooks gave me a ring not long ago, and was looking to shoot something different while photographing the Denver Broncos for the NFLRic Tapia has been shooting big time sports events for years now, and I am a huge fan of both him and his work. His goal was getting powerful imagery at the game, with using off camera flashes.  He knows how much I love doing different stuff especially off camera anything. He and I both have our degrees in Industrial and Scientific Photography from Brooks so we both love high speed, and difficult sort of photography.

I loved shooting the Broncos…here are a few of my favorite shots I took.  I’m gathering a bunch more to share soon.


a few of my favorites from helping shoot the Denver Broncos

VIDEO: Basketball Timelapse

It’s about time I dropped something sick again, huh?!

For this basketball time-lapse video, I broke away from my previous tabletop time-lapses and decided to use an actual human being this time! I called up my buddy Branden, an awesome fitness model and trainer, to be the basketball player running across the court and dunking in front of a setting sun.

This remote basketball court is by far the sickest location I have ever shot. In fact, I’m heading out soon to another shoot for a client out there. I found this court by complete accident, and plan on using it a lot in future projects. The desolate landscape and dramatic light changes made it the perfect location for this basketball time-lapse shoot.

Once I’d set up and captured all the b-roll for the video, Branden I spent a very long day on location going through the process of capturing his dramatic dunk. He ended up running the length of the court 720 times in a single day. 720! I’m not sure how far that works out to, but it’s a good thing he’s in shape. Trying to stick all the steps, so they’d be identical each time, wore us both out. The end result was totally worth the exhaustion!

How It’s Done

So the moving person in the time-lapse crazy, right? It was definitely a challenge, but nothing worth doing is easy.

IMG_6546.jpg


This was the most still images I have ever shot for a single time-lapse. My shoot folder has over 87,000 images! Hanging out at the court watching the shadows move was actually pretty relaxing — longer and less boring than watching paint dry.

The only big issue I had on this shoot was spiders. Yep, spiders. I hate spiders, but we were outdoors and there wasn’t much I could do about them. Every 20 minutes or so, I would have to check all six cameras and their lenses, because the spiders would keep crawling up the tripod, and start making webs over my lens hoods. Welcome to the glamorous world of location photography!

After the shoot, I headed home to start organizing all those still images and mapping them out in chronological order. If you think about, the sun moves every minute, so it’s really crucial to keep all the images in the correct order. To help pull the basketball time-lapse together, I called up motion editing pro Buddy Thomas to make sense of this chaos. He pumped out a really sick edit! Buddy’s a great guy and came up with some really cool concepts, like the screen splits, which really took it to another level.  I love when someone can add their personal style to a project, which ends up being perfectly inline with my original vision.


Stay tuned for more videos like this — trust me, you have not seen anything like it before!


VIDEO: Under Armour Night Workout

VIDEO: Under Armour Night Workout

Well…..I have not posted in a while for a great reason….I am now switching over to motion and have been studying for a while.  It was really weird, I almost felt like I was back at school.  I decided to do this to open a few doors for myself, so I had to figure out how I was going to learn all this.  So I started doing some research…..and I came across one of my favorite photographers/ director/ DP, Vincent Laforet.  He has been doing some really great things in the industry, and it seems as though I cant research anything without coming across his name.  He has been dubbed the “King of DSLR” so who better to learn from?  I am working all the time at my Art Gallery in Denver, Colorado called FatTail.  So I have never had the chance to meet Vincent…..but guess what?  Vincent recently published a “webinar” about still photographers who are switching over to video.  It was a really intense class, I think around 24 hours of information.  First of all I would like to say thank you to Vincent for doing something like this, and I have to say the $129 price tag could have been 10X that and still would be worth every penny, so thank you Vincent!!!!  Also another thing I noticed is that he never seemed to run out of words, a very educated photographer, and director. 

Please check out his online class!!!!

So I decided to give Vincent’s online class a try and sat there taking detailed notes and making sure I was soaking all the information I could.  It was jam packed, almost to the point I could not take it all in.  So many cameras, tripods, lenses, gears…..which at the time was frustrating, but as I went to buy some of the gear, I felt very prepared thanks to Vincent.  He reviewed what seemed like every piece of gear known to man, and I learned tons and now know all the gear.  I have had training with extreme high speed cameras, like the Phantom shooting thousands of frames per second.  I love shooting on that sort of camera, but for now I picked up a 5D Mark II.

I really miss shooting super high speed photography and motion, and the whole reason I graduated in Industrial and Scientific Photography was to some day use that knowledge to enhance my sports shooting.  So its all coming sooner than I thought and I am very excited for my future.

I started working up a few concepts for my agent Katherine Kennedy from Other Films.  I wanted this first project to show off my skills of lighting, and creative ideas, and of course showing my passion for sports.  I talked to Katherine a lot, coming up with different ideas, and spec campaigns.  We ended up landing on doing a 30 sec spec ad for Under Armour.  I became very excited for a new challenge and the whole process proved to be way more difficult than I anticipated.  The pre-production took a lot of time, and ended up helping the final spot, and I am very happy that we put the time in that we did.

A few other notes I would like to mention about shooting this project:  There are a few companies that helped with this project, and it could not have been done without their help.  First off I would like to thank Katherinefor all the inspiration and help making this all happen.  She is a master of her craft and one heck of lady!!!!  I would also like to thank Hoodman for providing me the compact flash cards that I used for this project.  The super fast RAW 675X UDMA 6 Hoodman 8 GB did the trick for this shoot.  I also used a lot of gear made my RedRock Micro, thanks to the advice from Vincent.  Their gear is top of the line when it comes to HDDSLR Cameras.   I also would like to thank Canon Cameras for the ability to create such a cool project using the familiar Canon equipment.

Equipment List:

Models: (In order as they appear)

Profoto: Splash Attack, Pt. I

I love Profoto. I use their lighting equipment all the time on my shoots to achieve unique effects, and it’s always so cool to see them feature my work on their blog! Read the full article below, and don’t miss Part Two and Part Three.

Joe Morahan’s Colorful Splashes

Written by Ron Egatz on Monday, September 9th, 2013. Originally posted on The Profoto Blog.

morahan_visuals_waterbreak_final_009.jpg

Photographer Joe Morahan has been on our radar for a long time. We’ve covered his work previously, and his love of high speed sports photography hasn’t diminished since then.

Based in Denver, Colorado, we usually find Joe capturing athletes outdoors. He recently explained a series of indoor shoots which are no less impressive and action-filled than his outdoor work.

“This summer has been so hot, I think I subconsciously needed to do a shoot that reminded me of being a kid, looking for a way to stay cool – an erupting fire hydrant, a neighbor’s lawn sprinkler, a Slip-n-Slide… anything!” says Joe.

“I began imagining a shoot where I could combine my summertime prerogative of keeping cool with my background in high-speed industrial photography, and my current passion for creating sports photography and films.

“Like many photographers, I keep an “inspiration” file going of cool techniques and styles. I soon found an image that was pretty close to what I wanted to achieve: a female athlete hitting a splash with a baseball bat. The effect was just as striking as I had imagined! I started to get really excited about using this technique in my sports photography, and taking it to a new level.

“I decided to apply the “splash” technique to several different sports, showing exploding balls of water – frozen at the moment of impact. This kind of shoot could be used in an ad campaign for sports drinks, illustrating the power of hydration in a really attention-grabbing way. I chose a pure black background and rim light to really highlight the shape and position of the athletes and the millions of tiny water droplets exploding around them.

“Over the years, I’ve captured tons of splashes, drops and pours for landscape and tabletop shoots. However, I’d never applied this technique to humans before. Boy, did I learn a thing or two! Before a single model set foot inside that studio, I had my lights and camera settings locked down. Whenever I’m testing a new technique, I do a lot of “pre-modeling” before the talent arrives so they’re not waiting around, losing energy while I’m futzing. As you can see, I make a better photographer than a model!

“On the technical side of things, I knew just what to do. To freeze the motion and the water, I powered down my Profoto flashes, almost to the lowest power possible. Next, I cranked up the speed. I knew I could count on the speed of my Profoto lights to capture just the right moment.

“To keep both the faces and the splashes of water in tack-sharp focus, I had to close down my aperture to f/8. With all the kicks, swings and punches, the splashes of water were often 18-24” in front of my model’s face. But when you stop down, you lose light. If you’re using diffusion you then have to kick up the power on your flashes, losing your fast flash duration. So in the end, I didn’t use any diffusion tools and instead, I swept the specular light across my models.

“The craziest challenge was keeping my beloved camera equipment and Profoto gear dry! I’ve dealt with water on-set before, but usually on a smaller scale or as rain falling from above… not exploding in all directions. Safety first, people. We made sure all power connections were lifted off the floor and covered everything in sight with trash bags.

“Ironically, with all that water flying around, my studio got incredibly hot and muggy during this shoot. These images are far more refreshing to look at than they were to produce! So much for staying cool this summer…”

Joe Morahan is an innovative and award-winning sports photographer, filmmaker and visual effects artist living in Denver, Colorado.

via The Profoto Blog.


Profoto: Splash Attack, Pt. II

Check out Part Two of my series of featured articles on The Profoto Blog! You can catch up on Part One here, and read Part Three here.

Joe Morahan’s Colorful Splashes, Part II

Written by Joe Morahan on Tuesday, September 24th, 2013. Originally posted on The Profoto Blog.

morahan_visuals_waterbreak_final_005.jpg

Two weeks ago, we published the first part of the story of Joe Morahan’s colorful splashes, in which Joe talked about his inspiration for the shoot and how it came to be. This is the second part, in which he gets down to the nitty-gritty details, in case you are crazy enough to try this at home. Here is the full story in Joe’s own words:

I’m no stranger to freezing motion. I majored in industrial/scientific photography at Brooks Institute. I’ve captured tons of speeding bullets and exploding objects using high-speed cameras and triggering devices. The great thing about photographing speeding bullets is that they’re fired using precision mechanics, making them incredibly consistent. It’s all about known factors, and getting your calculations right. Once you know the speed of the bullet, the time it takes to reach an object, and when to fire your flash and camera to capture just the right moment of impact, you can capture an almost identical image each time. Not so with a human subject!

Unlike a bullet with a consistent speed and trajectory, human beings have free will. They can choose to move in a million different directions, in a million different ways. Coordinating the movement of my model with the explosion of the water balloon created quite the math headache! No matter how hard the models tried to stay consistent in their movement and speed, the timing would differ in each take.

So how did we manage to get consistent enough results to create a whole series? Was it stubbornness? Insanity? It helps that I have a slightly obsessive attention to detail. With a lot of pre-production planning, a few on-set adjustments and a little bit of luck, I was able to capture the dynamic images in this series.

The easy part was locking down my exposure and flash duration. In order to freeze motion, I powered down my Pro-B2 all the way to get the fastest flash duration possible. To keep the light strong, I used no diffusion or other light modification that would limit the power of my Pro-B2 — only a few black flags to prevent lens flare or light contaminating the backdrop.

However, because strong, specular light can be unflattering to even the most attractive among us, I chose to sweep my lights from behind, creating a rim light effect. Combined with pure black backdrop, this setup highlighted the shape of my subject, and the low-key tone added drama to the scene. The biggest challenge with this lighting choice was making sure the model didn’t accidentally block light from falling on the water balloon as it exploded.

My Pro-B2 was rigged to my camera via cable, which I found to provide the most consistent results… a must when you’re dealing with so many variables. My favorite toy on set was the Ubertronix Strikeforce II triggering device. I love these little guys! They’re an essential piece of equipment for industrial/scientific photography, because you can adjust delays in nanoseconds. For this shoot, I chose the laser beam trigger option, set about 5 inches behind the water balloon, with a delay of 50ns to capture the maximum splash.

To explode the water balloons, I attached sharp tacks to my models or their sporting equipment — wherever the impact would happen. This allowed the models to strike with far less force, giving me more time to catch the action on-camera. To eliminate some of the consistency problem discussed earlier, I hung the water balloons from a thin, stiff wire. This way, I only had to deal with oneinconsistent element — the human subject. Although it would have been fun to throw a bunch of water balloons at an MMA fighter armed with rows of sharp tacks on her knuckles…

I’ve never been one to think I know everything, but this shoot was full of fun an interesting challenges. It seems the more I learn, the more I realize I still have more to learn.

The third and final part of the story will be published later this week. You will find the first part here.

Profoto: Splash Attack, Pt. III

Check out Part Three of my series of featured articles on The Profoto Blog! Catch up on Part One and Part Two

Joe Morahan’s Colorful Splashes, Part III

Written by Fredrik Franzén on Thursday, September 26th, 2013. Original posted on The Profoto Blog.

morahan_visuals_waterbreak_final_008.jpg

Two weeks ago, we published the first part of the story of Joe Morahan’s colorful splashes, in which Joe talked about how the shoot came to be. Two days ago we  published the second part, focusing on the actual lighting setup. This is the third and final part, in which Joe talk about the postproduction that went into the project. In Joe’s own words:

As any creative will tell you, you never really get over the rush of excitement seeing your vision realized. When I first closed my eyes and imagined this series, I wasn’t quite sure how I was going to pull it off. In the end it came down to luck — “when preparation meets opportunity.”

I’ve previously talked about how this body of work went from cool images floating around in my head to practical problem solving on-set. Now, I’m going to talk about the post-production and editing that gave my raw images that shot of adrenaline.

After several days of shooting, nearly a dozen models, thousands of water balloons, and buckets upon buckets of water on my studio floor, I was left with some really neat images. As a visual effects junkie, though, I always want to take my images to the next level. I’m not as interested in photojournalism or “straight” photography, as much as I am in telling a really dramatic and slightly surreal visual story. My favorite images always make me feel like I’m dreaming.

Although I love opening up Photoshop and having fun with my images, for this particular shoot I wanted a different look. I wasn’t sure quite yet what I wanted, so I turned to my know-it-all friend, the internet. Browsing around, I found the work of fellow sports photographer and Photoshop evil genius Kevin Conrad. He has a very slick editing style, and his skin tones and textures were out of this world. I had to hit him up, and see if he would collaborate with me on this project. He agreed, and the images turned out amazing!

The trickiest part of editing was selecting the colors to use for the splashes. Because I’d envisioned this as an ad for a sports drink company, we had a lot of leeway in choosing wild and unnatural colors! Where possible, though, we tried to use a relevant color, like in the tennis image where the water matches the color of a tennis ball.

It was important to use different colors in each image, since the lighting was so similar and in some cases we used the same model for multiple sports. The unique colors really help each image stand out from the rest of the series.

Kevin’s editing really shines in these minimalist images. With pure black backgrounds, the eye is left to really focus on the athletes and the explosion of water droplets. To bring out the color of the water and prevent clashing with skin tones, Kevin desaturated everything but the splash. It also helped keep the images clean and really legible. I had a great time getting to know Kevin through this project, and look forward to our next collaboration!

Out of the group, my favorite images were the female MMA fighter kicking the water, and the baseball player hitting it out of the park. These images feel really dynamic and almost electric to me, and really capture the spirit of the series. To capture the roundness of the “baseball”, I took the shot about 50ms faster than some of the others, so the water didn’t have as much time to lose its shape once the surface of the water balloon was broken.

Looking back at the series — with all its challenges and triumphs — it was totally worth all those nights stocking coolers full of water balloons! The insanely muggy studio, though, I could do without. Maybe we’ll just shoot outdoors at night next time…

Catch up on the rest of this article: Part 1 and Part II.

PocketWizard: Joe Morahan Digs Vans

PocketWizard: Joe Morahan Digs Vans

May 2, 2013 By Joe Morahan

Featured on Pocketwizard.com: View at Pocketwizard
Written by Ron Egatz

vans_tight_800_px_gif_v2.gif

Joe Morahan Digs Vans

Vans Time-Lapse: Born to Roll from Joe Morahan on Vimeo.

Joe Morahan at Morahan Visuals in Colorado is seriously into time-lapse photography. He recently brought his Canon cameras to bear on a group of Vans footware and some skateboards, putting together this amusing and impressive footage.

What’s so impressive about sneakers getting stitched together? That’s a good question, but as any exceptional craftsman will tell you, the quality is not always indicative of what you see. It’s primarily what doesn’t go wrong which denotes superior skill, strong concept, and gorgeous aesthetic.


As Morahan points out in his behind-the-scenes blog post on the shoot, “PocketWizard just saved me hundreds of dollars.” How did this happen? By not having to physically pause eight cameras after each shot. Remote camera triggering with PocketWizard technology is used extensively in this video. If each camera needed to be physically handled, that would’ve allowed for even minor physical movement of them, and that would’ve forced he and his team to start over again from the beginning.

Perhaps that needs repeating. A film composed of countless still photographs (from seven cameras) which needed to be compiled in reverse order. Then, due to one bump of one of the camera bodies, all shots must be tossed, and the process would need to be started over from the very beginning. Arming each camera with a PocketWizard Plus II prevented this project from becoming a Sisyphean task.

“PocketWizard saved the shoot,” Morahan concludes.

It should be noted the Plus II has been replaced by the PocketWizard Plus III, although this job could’ve been done with either the Plus III or the new PlusX.


Morahan kindly provided us with a list of other gear he used:

Canon Cameras:
1Ds Mark III, 5D Mark II, 60D, 7D, 1D Mark II, 20D, Rebel XTi.

Lenses:
Canon Lenses; Zeiss Lenses

Lighting:
Husky

Other Photo Gear:
Lowepro, Hoodman, PocketWizard

Morahan’s finished Vans film can also be seen on his blog. In the coming months, we will take a closer look at Joe Morahan’s career and some of his other innovative projects. Stay tuned!

MorahanVisuals

MorahanVisuals Blog

MorahanVisuals on Facebook

Joe Morahan on Twitter

March 21st, 2013