These days commercials are built to WOW you. They are meant to BLOW you away. To get that great spot, a huge amount of time is spent communicating and collaborating between the creative and production team to be able to turn that concept into STUNNING motion visuals.
This time around, I worked as the director of photography on a three-part commercial series for CrossPoint, we boiled up some epic imagery ideas in preproduction and how we can make those idea come to life.
For part one of the series, we submerged the camera underwater. We wanted to convey the look of a person, “drowning,” in the legal system. This was a feeling we could all relate too — the feeling that you have no control or can’t seem to see an end to all the frustration. We wanted the person to look like they weren’t actually “drowning,” on camera but rather struggling and reacting frantically in the water. Seems simple right?
Shooting underwater is a delicate situation. Many precautionary details need to be taken care of or allcould go wrong. Although I am experienced in photographing underwater, I always face an extra level of nervousness for the equipment. Details such as pressure control, level of visibility, and optimizing lighting are just a few factors we had to address in the preproduction of the underwater spot.
After scouting a couple locations we ended up settling on the Scuba diving facility, A-1 Scuba. The space was going to be easily controlled without any unnecessary distractions to the shooting space. The team at Crosspoint and I even talked with a couple divers at A-1 to ensure what we had envisioned could work at this pool. Location, check!
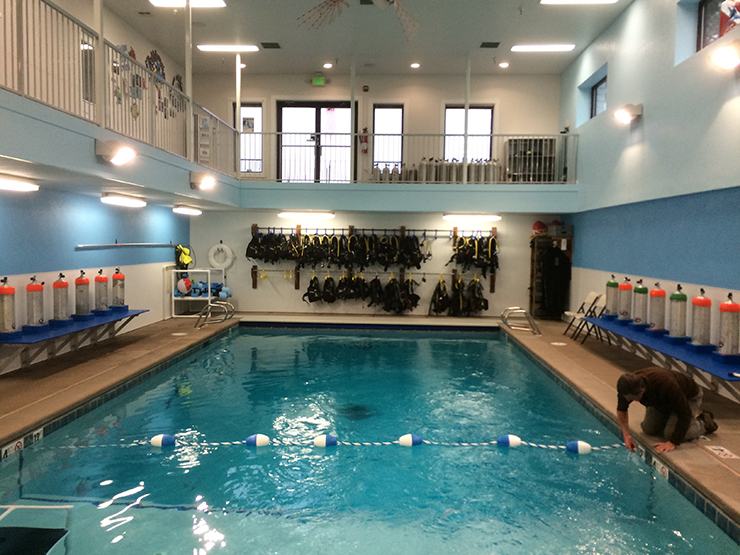
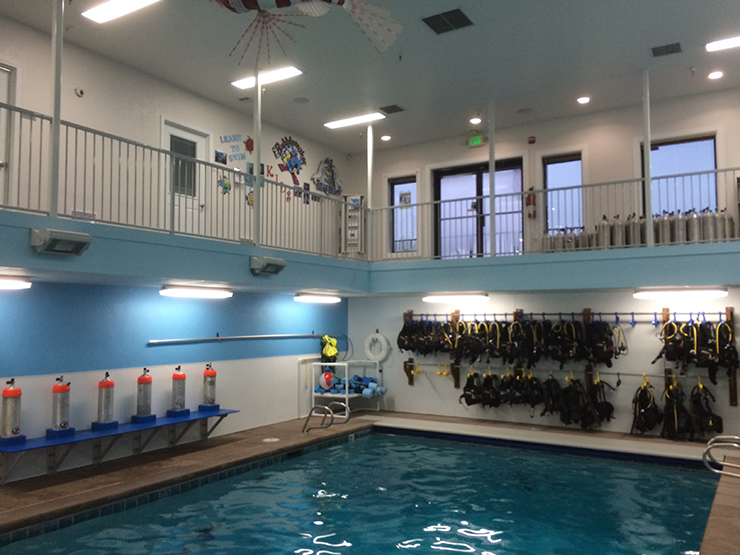
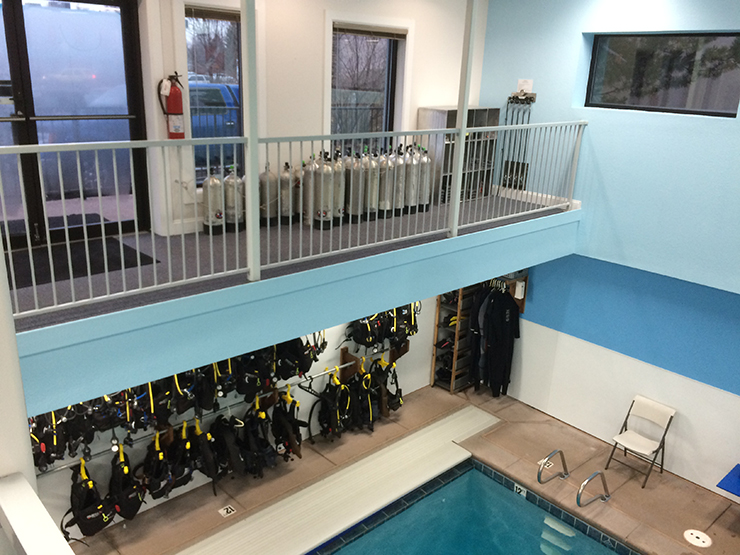

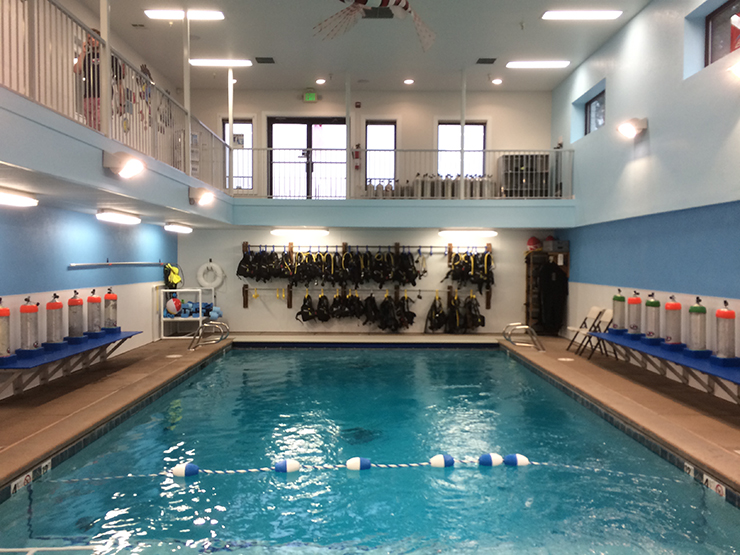
Next up was the lighting. To create optimal lighting at A-1 we had to black out the entire bottom and two sides of the pool to reduce reflections. After 20 by 25 feet of blacking out in the pool, we had to fix the bright overhead lighting as well. Following the trend, we hung a black cloth over the entire ceiling of the facility. The key grip on set, then hung 10K light 20ft above the surface of the pool. “And that’ll do the trick,” he said.
Now let’s grab the camera! I knew from the get-go that the equipment was going to be plentiful and complex. I was first introduced to the complexity of underwater equipment with surf photography, but this was going to be a new ball game.
There are many components to underwater photography, especially at such a large production. For our camera we decided on a Sony FS700, which would also work for the other two spots. I found full functioning housing for this Sony camera, as well as back up, so all was set! One hint though, make sure to buy housing unsealed because when ours arrived from Florida it popped open! The pressure change caused a loud surprise for the crew! After finding all the equipment, we were ready with a total of 4 cameras, housings, and a few domes we were ready to shoot.
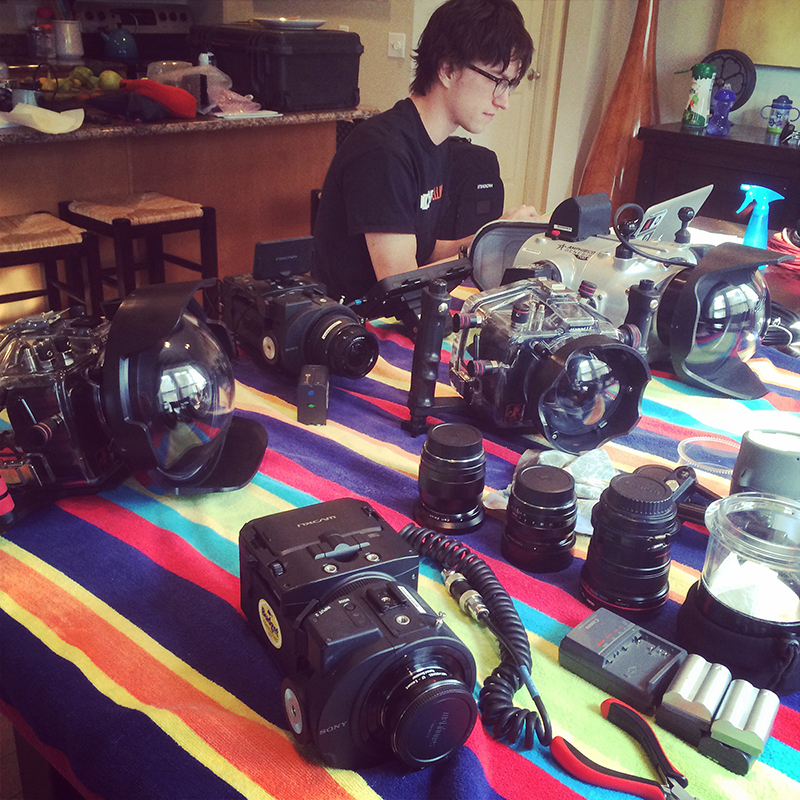
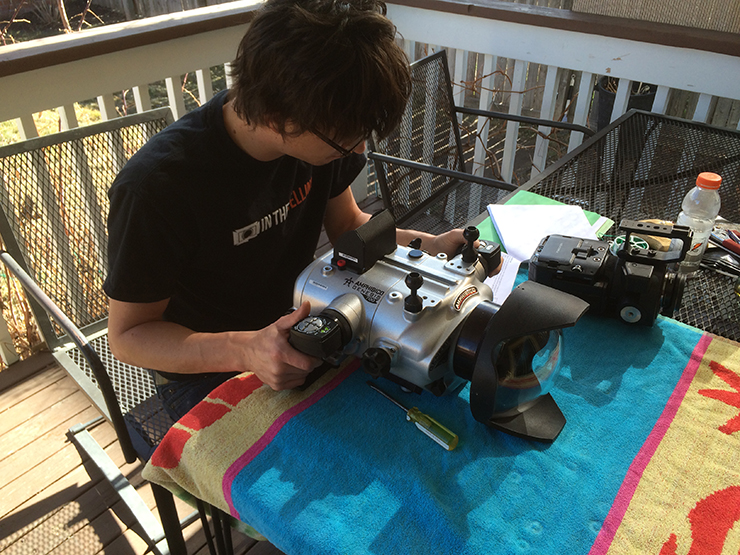
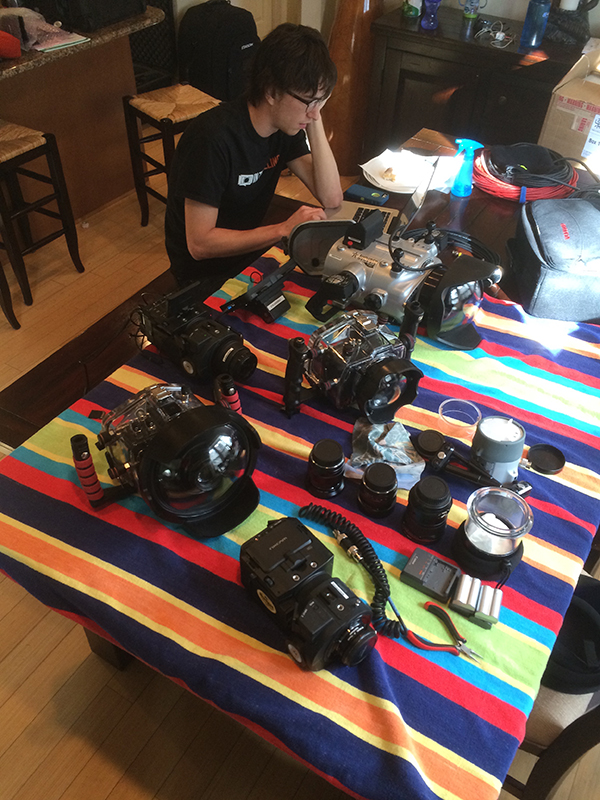
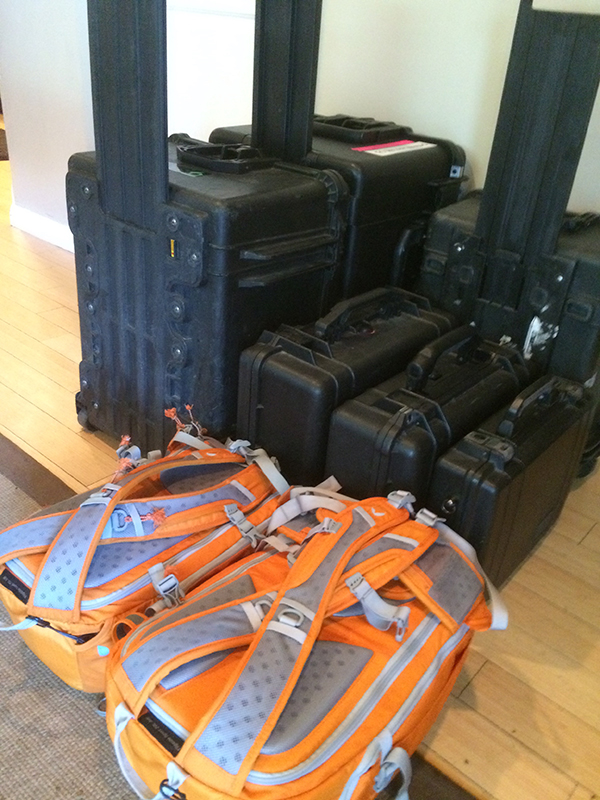
Lights, Camera, Action! Once we arrived on set, the crew started right away putting up the black walls, lighting and safety features. My trusted team, Buddy and Adam geared up the underwater housings, cameras — and all that jazz. Once the subjects were ready in the water, I suited up in my scuba gear, grabbed the housing and jumped in. For a couple hours at a time I was underwater shooting. I used tricks such as a barrel roll with the Underwater Sony FS700, which made the subjects look like they were caught in a washing machine. It was super sick! We really nailed the concept of the subject struggling underwater. The key was to persistently get a few shots in a row underwater to limit the amount of surface time. I made sure to use hand signals and body language to talk with the guys up above. Good communication above water translated into great footage below. The day was a success!


